【JaCoCo】代码覆盖率从0到100的入门实践

JaCoCo全称是Java Code Coverage,Java代码覆盖率,广泛运用于各种测试平台对Java代码的全量覆盖率和增量覆盖率进行统计,分析代码行差异,度量单元测试效果。Jacoco也是精准测试的技术实现手段之一。
入门实践的目标是写点简单代码,再加点单元测试,把JaCoCo跑起来,输出测试报告,看代码覆盖率是怎么回事,了解基本的运行流程。
先写点简单代码:
public class Add {
    public int add(int a, int b) {
        if (a == 1 && b == 1) {
            return a + b;
        }
        return 0;
    }
}
再加点单元测试,这里先加一个什么都不做的单元测试,按理说代码覆盖率会是0:
import org.junit.Test;

public class AddTest {
    @Test
    public void notCovered() {
    }
}
如何把Jacoco跑起来呢?我先尝试了Maven插件的方式,在pom.xml中引入依赖和添加配置:
<dependencies>
        <dependency>
            <groupId>junit</groupId>
            <artifactId>junit</artifactId>
            <version>4.12</version>
            <scope>test</scope>
        </dependency>
        <dependency>
            <groupId>org.jacoco</groupId>
            <artifactId>jacoco-maven-plugin</artifactId>
            <version>0.8.7</version>
        </dependency>

    </dependencies>

    <properties>
        <maven.compiler.source>8</maven.compiler.source>
        <maven.compiler.target>8</maven.compiler.target>
    </properties>

    <build>
        <plugins>
            <plugin>
                <groupId>org.jacoco</groupId>
                <artifactId>jacoco-maven-plugin</artifactId>
                <version>0.8.7</version>
                <executions>
                    <execution>
                        <id>default-prepare-agent</id>
                        <goals>
                            <goal>prepare-agent</goal>
                        </goals>
                    </execution>
                    <execution>
                        <id>default-report</id>
                        <goals>
                            <goal>report</goal>
                        </goals>
                    </execution>
                </executions>
            </plugin>
        </plugins>
    </build>
引入了junit和jacoco-maven-plugin两个依赖。
插件中配置了两个execution,并指定了两个goal,prepare-agent(插桩)和report(报告)。
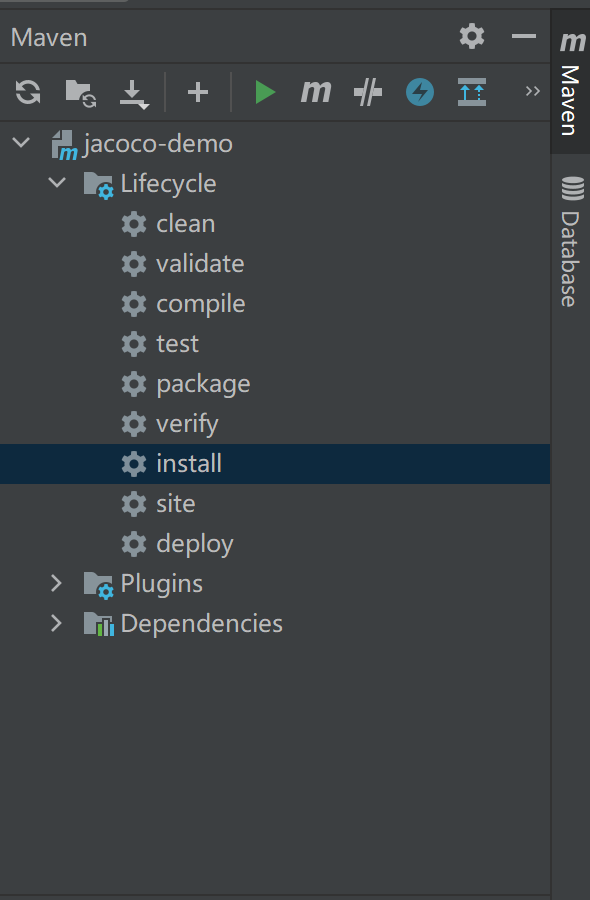
然后执行maven的install,如果是在IDEA中可以直接点击按钮:
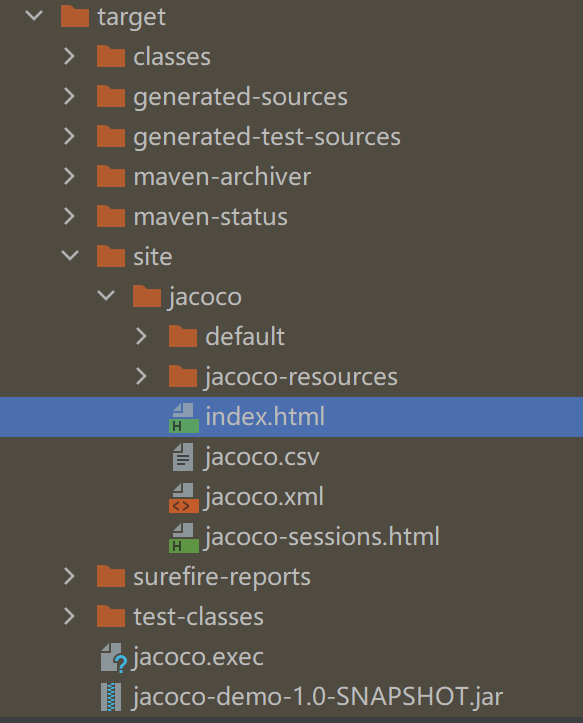
在target下就能看到html报告了:
打开看果然代码覆盖率是0:

修改一下单元测试:
import org.junit.Test;

public class AddTest {
    @Test
    public void covered() {
        Add addDemo = new Add();
        addDemo.add(1, 1);
        addDemo.add(1, 2);
        addDemo.add(2, 2);
    }

    @Test
    public void notCovered() {
    }
}
先maven clean以后再install,就能看到:

覆盖率100%了。一共有4行需要覆盖的代码行:
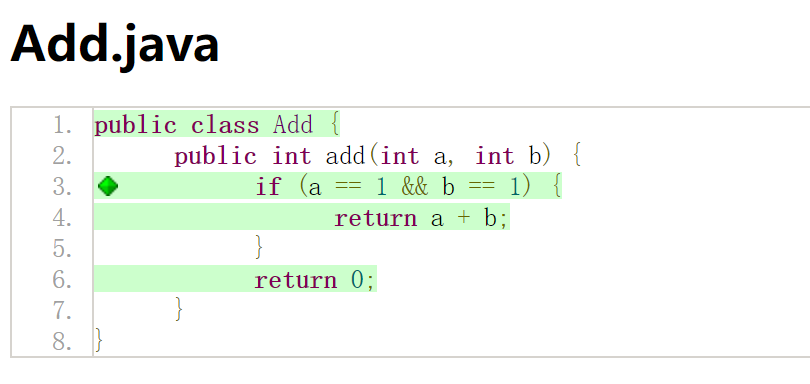
至于为什么需要4行,以及我添加的单元测试为什么能够100%覆盖,文字描述有点说不清楚。可以关注我的B站,搜索dongfanger关注,我会进行相关的演示和说明。
参考资料:
Jacoco官网Maven示例 https://www.jacoco.org/jacoco/trunk/doc/maven.html
Jacoco报告详解 https://blog.csdn.net/sayoko06/article/details/99312875